Right Angle Weave stitch is one of the most popular and useful stitches among beadwork creators. Yet, some beaders are slow to act and indecisive about learning it. There might be a couple of reasons for that:
- Tutorials are not clear
- Patterns seem to be too complicated
When I learn how to weave using RAW (Right Angle Weave) stitch, I did not even know the name of it. I merely saw it as best solution when choosing stitches for my simple designs at that time.
Today I cannot imagine making a sophisticated beaded jewelry piece and not using RAW!
Do you want to learn the stitch and make a lovely bracelet? I created a set of tutorials for you!
Learn Right Angle Weave Stitch and Make a Bracelet
Start with preparing the right beads and tools for practicing the stitch and the bracelet tutorial.
Beads and Components
- Seed beads size 11 color A
- Seed beads size 11 color B
- Seed beads size 15
- Slide-in two-strand tube clasp or A toggle clasp
Tools and Supplies
Fireline 6 lb thread or other beads thread
Beading needle size 12 or 10
Practicing RAW
Learn how to weave your first Right Angle Weave stitch row by using RAW Basic instructions!
You may choose seed beads of any color for this practice.
Continue learning the stitch, follow the second part of the instructions and weave your second row.
You may choose a different color of beads for the second row, or you may continue with the same beads you chose for the first row.
Look at your beadwork and evaluate your first sample. If you need further assistance, send me a quick photo of it.
Practice more, if you feel you need it.
Making a Bracelet Using RAW stitch

Now you may proceed to the bracelet tutorial I specifically designed for you to practice RAW stitch. This project doesn’t require too many beads. Every step of the tutorial is illustrated with colorful diagrams!
[button text=”Get Dot RAW Bracelet Tutorial” size=”medium” color=”extra-color1″ link=”https://www.svetlana.gallery/product/dot-raw-bracelet-beading-pattern-tutorial/” target=”_self” icon_location=”before”]
Modify the Bracelet Design
When you are done making the bracelet, I invite you to play with beads and modify the bracelet design a little!
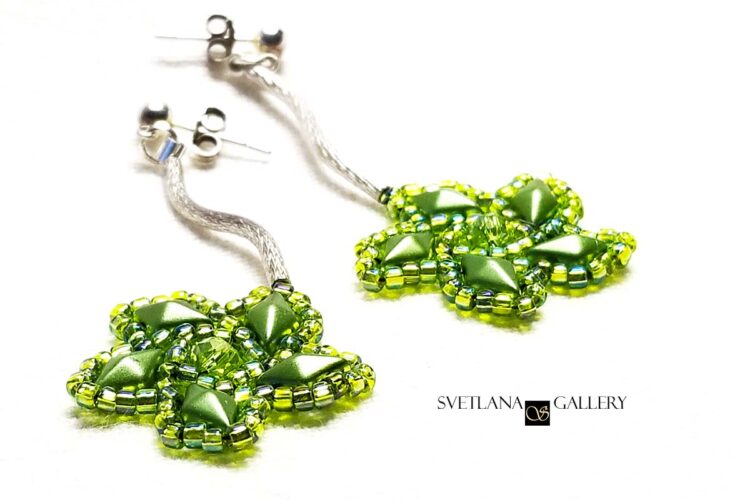
I made a modified version of Dot RAW bracelet using Czech 2-hole Quadra Tile beads and Preciosa Rose Montee beads in the center of each square element of the bracelet. (Click on image to see a larger version of the image)

You can substitute beads in a center with beads of your choice. Or, choose other ways to change the design.
You may experiment on a single square element before you continue weaving the next one.

Modifications help us learn the stitch and the technique better and with more understanding.
Send me a photo of your modified bracelet, and I will feature you in my future posts about RAW technique.
Have fun learning RAW and experimenting!