If you like handcrafted Christmas ornaments and gifts, but rarely have enough time to make them, this tutorial is for you!
My Small Christmas Ornament takes less than an hour to make. Watching the video and reading some of my text instructions you can be sure, you can create some last minute gifts watching your favorite Christmas movies or listening to holiday season songs!
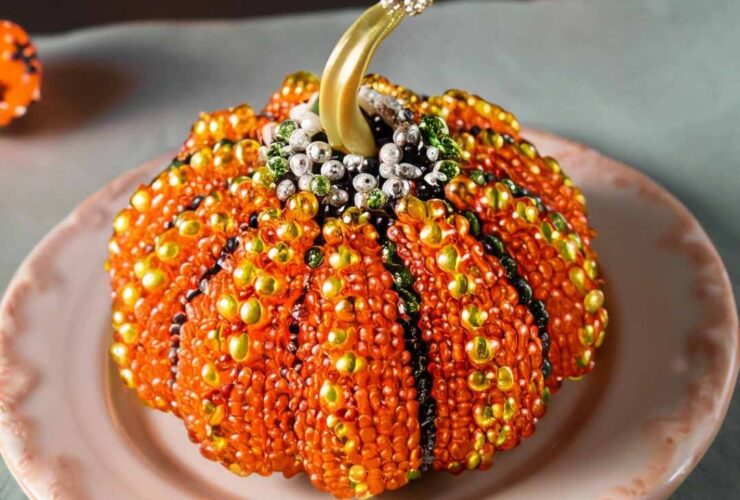
Small Christmas Ornament Tutorial
You will need:
Beads
A – Seed beads size 11
B – Seed beads size 15
C – 4 mm firepolished beads – 15
D – 6 X 6 mm Two-hole “Pyramid” beads – 5
Tools and Supplies
Small Ornament Ball 1 inch in diameter
Beading thread (I used Fireline 6 lb)
Beading Needle Size 12
Sharp Scissors
Beading Kits
Beading kits are available in my Etsy shop:
Small Christmas Ornament Beading Kit
Step 1
Start making a 14 RAW unit chain using seed beads size 11.
If you are not familiar with RAW stitch, you can follow my instructions and learn it quickly.
Connect two ends of the chain creating the 15th RAW unit. Let’s call a ring.
Step 2
Add one seed bead size 15 in between each RAW unit on one side of the ring. This is going to be at the top of the ornament.

Step 3
Weave through beads to move to the other side of the ring.
In this step, you are going to add one embellishment in between two RAW units located next to each other.
String 3B, 1C and 1A.
Stitch through the C again.
String 3B.
Stitch through the next bottom bead of the next RAW unit.
Step 4
In this step, you are going to add the long element containing one Pyramid bead. Let’s call it a “leg”
String 5A, 1D, 5A, 1C, and 5A.
Stitch through the second hole of the Pyramid bead.
String 5A
Skip the next RAW unit and stitch through the bottom bead of the second RAW unit after.
Repeat step 3 and 4 to add four more embellishments and “Legs”
Then weave through the beads towards the ends of the Legs . Make sure to stitch through the Firepolished bead at the lower end of the Leg last.
Step 5
String 5A, 1C, and 1A
Stitch through the C bead again.
String 5A
Stitch through the C bead of the next Leg
Repeat Step 5 four times.
Then weave through the beads towards the lower end of the beadwork.
Make sure to stitch through the lowest bead A last.
Step 6
In this step, you will connect the elements you created in step 5
String 2A
Stitch through the next lowest A bead
Repeat this step four times.
Then weave through beads to secure both ends of the thread. Cut the remaining ends with sharp scissors.
Happy beading!