Finally a bracelet, that is easy and quick to make! It doesn’t require learning any special stitches. This honeycomb bracelet tutorial is perfect for beginners. It is also good for everybody who likes creating little jewelry gifts for holidays.
I included some tips on materials. As a person who embraces a change, I always look for options to increase the flexibility of the design and materials required for its implementation. If you find it useful, share it with your friends and beading buddies.
For this project you will need:
- Honeycomb beads
- 3 mm Firepolished Beads
- 6o seed beads
- 15o seed beads
- Open rings 7 mm or larger
- A clasp (I used a spring ring clasp)
- Thread, preferable 6 lb Fireline (see tips below)
- A beading needle size 12
- Scissors or a thread burner
- Pliers
One “flower” element requires following beads:
- 6 Honeycomb beads
- 4 Firepolished beads 3 mm in diameter
- 2 seed beads of size 6
- 8 seed beads of size 15
- 2 open rings for connections
- 16-18” of thread
Bracelet Tutorial For Honeycomb Beads
To make this bracelet you will weave each flower element separately and then connect all your elements with rings.
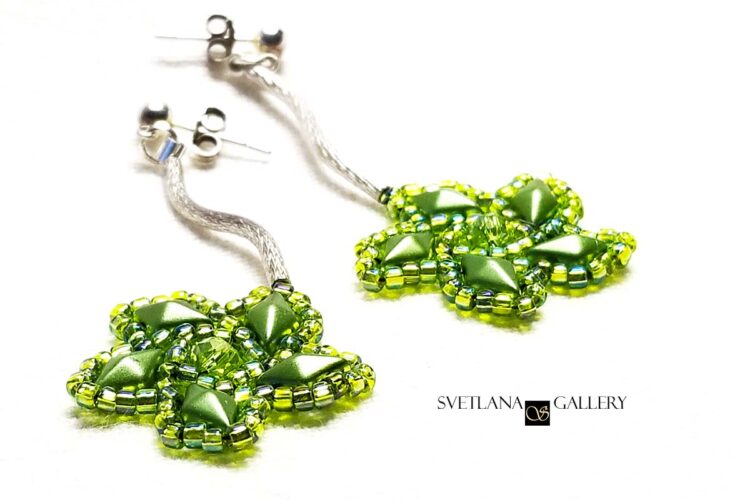
Instructions For the Flower Element
Step 1
String six Honeycomb beads and tie them together in a circle leaving a little tail. The tail should be long enough to weave back into the finished element after you finish it. Do a square or surgeon’s knot. This will prevent the element from falling apart and the thread – from slipping. (Need more information about knots, check this page)

Pass through the second hole of the next honeycomb bead. Now you are ready to weave the second row.
Tip #1 – Recycling
For this particular project, you can use leftover thread you saved from other projects. Make sure the piece you saved is 16-18″ long.
If you never saved thread, it is never too late to start. The saved thread can be used for exercises, color combination try-outs, and other purposes.
I don’t recommend saving regular nylon thread, though. Reusing it might create problems since the thread tends to split and tangle a lot.
Fireline is the one thread worth recycling, in my opinion.
Step 2
String a 15o, a firepolished bead, and one more 15o seed bead.
Pass through the second hole of the next honeycomb bead.

Repeat this step one more time.
Step 3
Pick up one 6o seed bead and pass through the second hole of the next honeycomb bead.

Step 4
Repeat Step 2

Step 5
Repeat Step 3

Weave through all the beads in the second row again to reinforce the element. Then weave through the inner circle of the flower element for the same purpose. Make two or three half hitch knots between the beads before you cut your thread. (What is a half hitch knot? Please see this demonstration!)
Step 6
Assuming you have made at least two beaded elements, go ahead and connect them with one open ring. Use pliers to open the ring enough to be able to slip on the end of it into a 6o seed bead of the element. Then slip the other open end of the ring into the 6o seed bead of the other flower element. Close the ring.

In the similar fashion, you will connect both ends of the bracelet with the clasp.
Tip #2 – Open Ring Connections
The beauty of the open ring connection is the freedom of choice. You can disconnect the elements and rearrange them anytime you are up for a change. You can switch the clasp without worrying about re-weaving part of the bracelet. You can dress up the rings with more beads. No matter, what you decided to change, the flower elements will remain intact and ready for your future experiments.
Enjoy your time making this bracelet in one weekend or, if you are too busy, take your time making one flower element at a time on different days of the week.

Happy beading!