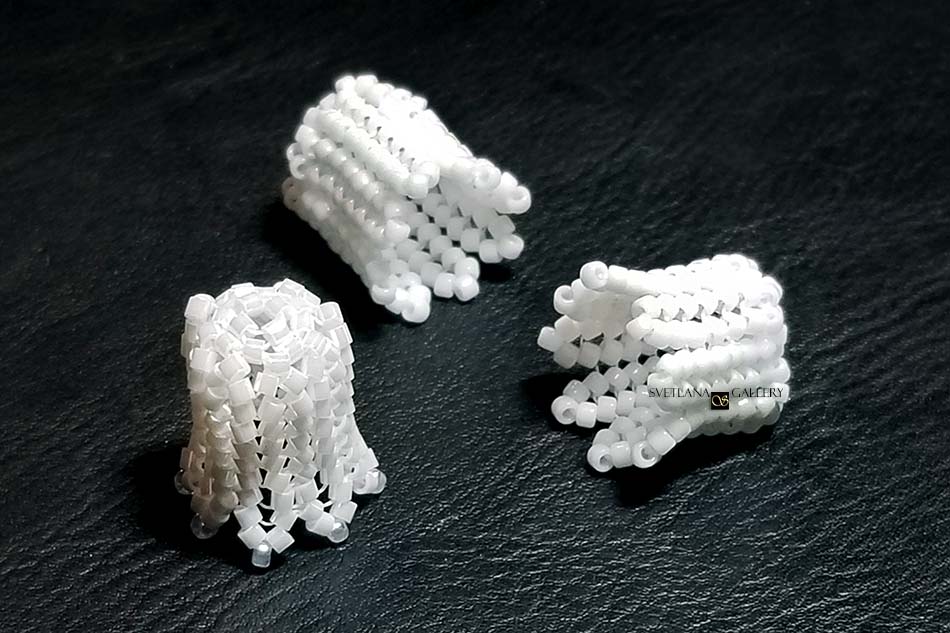
The White Bell herringbone stitch flower was inspired by the spring bulbs in my garden. I loved the idea of making them timeless and wearing them on my neck year-round. Several bell flowers combined in a cluster formed a beautiful Spring Flower Necklace focal point.
If you wonder how to make them, I prepared diagrams to help you!
If you are familiar with Herringbone stitch, I can assure you that they are very easy to make. Even if you don’t, try it! You will be surprised how quickly you will make a flower!
Herringbone Stitch Flower Diagrams
To create a flower following my herringbone stitch flower diagrams you will need Delica or other cylinder seed beads 15/0, beading thread, and a beading needle size 12.
Part 1
Start with eight beads and form a circle. Leave about 6 in of the thread to use later when you attach the flower to the necklace. Then follow diagram 1.

The bell shape forms when you start using the herringbone technique.
Part 2
In this diagram, you see the herringbone part of the flower and the alternative way to weave the center of the flower.
As I described above, I start with the eight beads and add four beads in the center later when the flower is completed. You might follow my steps or choose to start with the four beads instead. If you prefer the second way, let me know what you think about it. Did it work better for you?

When you add enough beads, and you feel that you’ve reached the desired size of the flower, it is time to add the last row of beads, which will become the edges of the flower petals.
String three (instead of two) beads each time (total eight times). Weave in and hide the remains of the thread.
Happy beading!