Spring Earrings tutorial is for everyone who likes quick beading projects! Caution: the new pair of earrings might result from a couple of hours of having fun with beautiful beads!
Beads
For the Spring Earrings Tutorial project, you will need the following beads:
- 4 mm Firepolish beads
- 11/0 seed beads in Green color
- 11/0 seed beads in Light Purple color
- 8 X 6 mm faceted drop bead (center drilled)
- and 6 X 8 faceted round glass bead
Do not mix up the drop beads and the round faceted beads. They don’t look the same. In fact, faceted glass round beads are optional, and you can replace them with any other beads you like. The drop beads are the base of this design. They are the same beads I used for the Boan necklace tutorial. If you tried that pattern, you are familiar with them.
Findings, Tools, and Materials
You will need the following findings to make a pair of earrings:
Ear wires
Head pins 50 mm long or longer (I used Ball Head pins)
A beading thread and a beading needle are necessary. I used 6 lb Fireline
Spring Earrings Tutorial
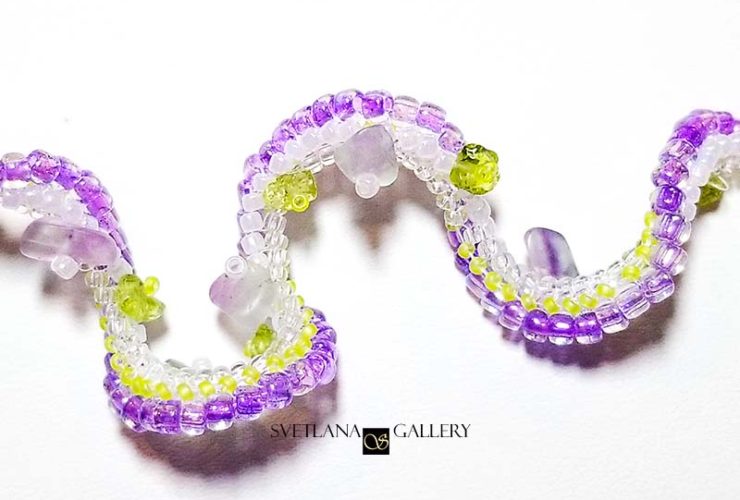
The base for this earring design is a beaded bead made with faceted drop beads, firepolish beads, and seed beads. This tutorial focuses on how to make the bead. Faceted drop beads are the same used for the Boann Necklace tutorial. If you have made Boann you might have some drop beads left to try the Spring Earrings tutorial.
I did not include the detailed instructions for the basic wirework leaving the creative part of finishing the earring design to you.
Step 1
String 5 green seed beads, form a circle, and make a knot.
Step 2
Add one purple seed bead after each green seed bead
Step 3
String one purple seed bead, a drop bead, and one more purple seed bead. Stitch through the drop bead again.
Then string one purple seed bead, and stitch through the next purple seed bead of the second row (added in Step 2).
Repeat this four more times, until you create a flower-like shape with drop beads resembling flower petals.
Step 4
String one purple seed bead, one 4mm firepolish bead and one more purple seed bead.
Pass the next purple seed bead at the top of the drop bead.
Repeat this until you connect all petals.
Step 5
It is crucial to reinforce this circle by stitching through all the beads added in Step 4 again.
Step 6
Adding drop beads to the second part of the beaded bead is slightly different from what you have tried at the beginning of this tutorial.
With your thread and needle exiting the purple seed bead stitch one drop bead, three purple seed beads, and one more drop bead.
Step 7
String three purple seed beads and a drop bead.
Stitch through the next purple seed bead.
Then stitch through the drop bead.
Repeat until you add all five drop beads to the second part of the beaded bead.
Step 8
String three purple seed beads and connect the last two drop beads.
Stitch through the drop bead and the next two purple seed beads.
Step 9
Pick up one green seed bead and stitch through the purple seed bead in the middle of the next group of three purple beads.
Repeat until you add all five green seed beads.
Reinforce by stitching through the green seed beads again.
Step 10
Adding green seed beads in between drop beads helps the beaded bead structure become more firm.
Add one green seed bead between all drop beads. Stitch through the drop bead towards the center of the beaded bead, and back to add the next seed bead.
Repeat the same process for the second part of the beaded bead.
Your beaded bead is complete. Don’t forget to secure and hide the thread ends.
Make a second beaded bead for the second earring.

Step 11
Now you can make earrings using the beaded beads and other beads of your choice. I used faceted glass beads and the same firepolish beads I used the beaded bead design.
What beads would you choose to make Spring Earrings? Would you prefer other colors?
Please send me your designs and creations!

Happy Beading!