Blue Sky necklace became beading and stringing project! What else could it be?
When I made a Peyote free-form covered bead, I thought of a pendant, but it was more fun to play with a selection of beads instead.
Beads and Materials
All beads for this project have a hole of 1 to 1.5 mm in diameter. It is essential to select beads with a large hole if you decide to use a ribbon as a stringing material, as I did.
My ribbon is an 8 mm wide organza. I don’t think any winder ribbon would be suitable for this project. So stick to thin and light ribbon types.
A big eye needle is another critical tool to have if you are using a ribbon. (See below on how to make it)
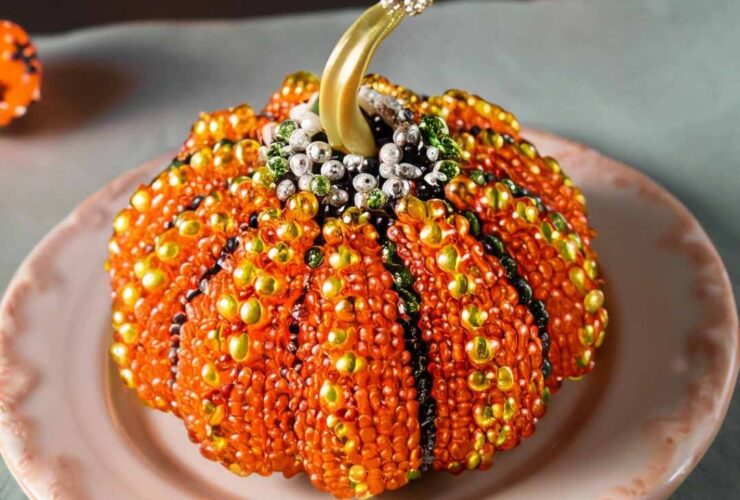
As a focal point, I used my ceramic bead covered with beadwork.
- For the rest of the necklace, I used the following beads:
- 18 X 12 mm faceted acrylic beads
- 10 mm blown glass beads
- 12 mm blown glass coin beads
- 10 X 12 mm royal blue Czech glass beads
- 6 mm base metal separator beads
Blue Sky Necklace: Beading and Stringing
Blue Sky necklace beading and stringing project consist of three main stages of jewelry making.
The first stage is all about free-form peyote beadwork around the ceramic bead. The second is about designing the necklace. The third stage is a stringing process – putting it all together.
Part 1

(video time 0:24)
First, I made a focal point: ceramic bead covered with free-form peyote stitch beadwork. I recorded this creative process on camera. It is hard to call it a tutorial, but it shows in detail how I moved my needle, what beads I selected, and how I connected them.
Part 2
Designing
(video time 0:50 )
After finishing up making a focal point, I started selecting beads to complement the design.
I picked them by color and size. Different surface finishes also matter a lot to me. Did you notice, some of the beads have matt, and some have glossy finishes. Most of them are glass, but the second-largest bead after the focal, is, I think, acrylic.
Part 3
Stringing
(video time 1:35)
Since I picked a ribbon to be my stringing material, I had to use a big-eye needle to string all the beads on it. Some beads didn’t have large enough holes. Luckily, I had a replacement.
I don’t often use a big-eye needle, but I am so glad I keep a couple for sudden creative ideas like this one. Learn more about using a big-eye needle in this post.
Make sure to cut enough of a ribbon to tie it according to the size of a necklace you want.
When you finish stringing, don’t forget to decorate both ends of the ribbon with beads. I tied a knot before I placed an end bead and after. If the last knot is too small, and you see that a bead might slip off, tie a couple of knots on top of it.
Overall, Blue Sky necklace a very quick beading and stringing project! I hope you find it interesting and inspiring!
Have you tried stringing a necklace on a ribbon?