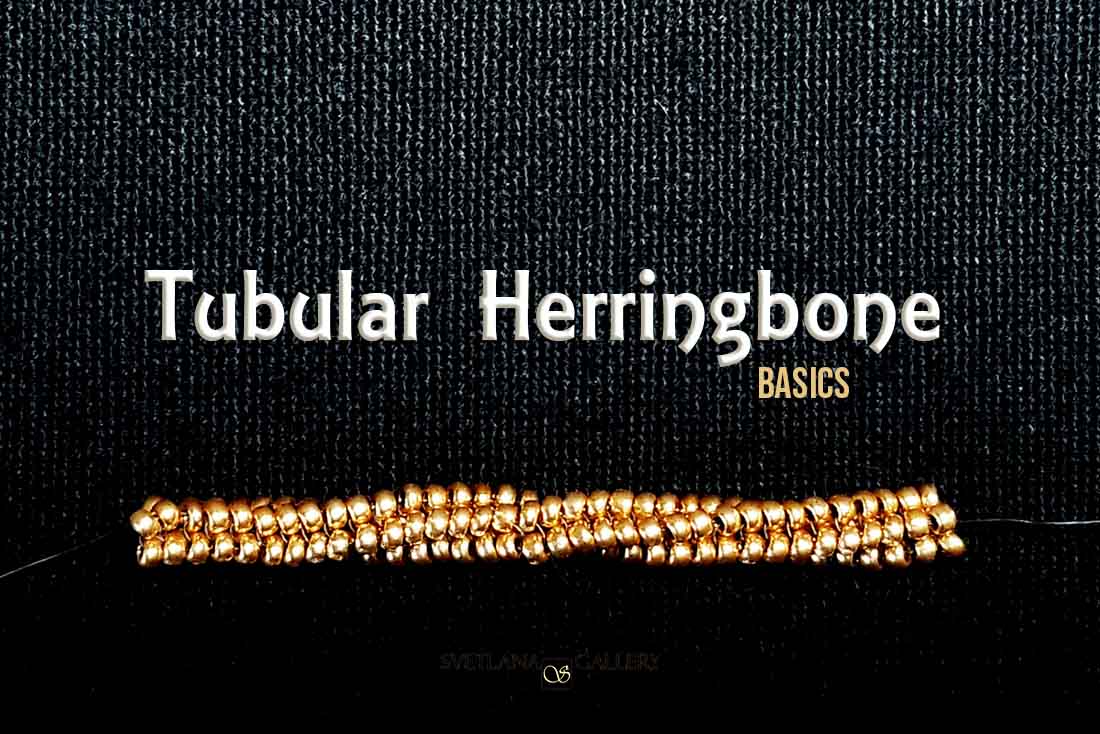
Tubular herringbone stitch is easy to master. It is perfect for necklace chains and bracelets.
From the first attempts to play with the herringbone technique, I experimented with different beads and stitch variations and didn’t realize how neat the stitch looked, even if just one type and color of beads were used. A beadwork beginner can undoubtedly appreciate that!
When preparing a sample for this post, I loved how the seed beads flow in this simple pattern.
I hope this basic tutorial will help you understand the tubular herringbone technique and learn how to use it in your jewelry designs.
You will need:
- Seed beads (I used 11/0 Czech beads)
- beading needle (I used #12 beading needle)
- beading thread (I used Fireline 6lb)
Tubular Herringbone Stitch Basics
Before we start, we need to weave beads to form a base.
String four seed beads. Then pass the first two seed beads again.

String two beads, pass the previous pair of beads, and the last two beads again.
String two more beads, pass the previous pair, and the last one again.

For this technique, we need to connect these beads so that it forms a tube.

If we try to look at the tube from the top, it will look like this.

At this point, it doesn’t matter which end you will pick to start adding beads. Usually, it is more convenient to start building on the side opposite the short tail of the thread.
String two beads and pass the next bead going in the direction towards the tail of the thread – the beginning of the spiral.

Pass the next bead stitching in the direction towards the opposite end of the spiral.
String two beads and pass the next bead going in the direction towards the beginning of the spiral. And again, pass the next bead stitching in the direction towards the opposite end of the spiral.

You’ve completed the first row of the tubular herringbone.
It becomes a spiral when you add more rows. Repeat these steps starting from Step 3 (see diagrams).
Variations
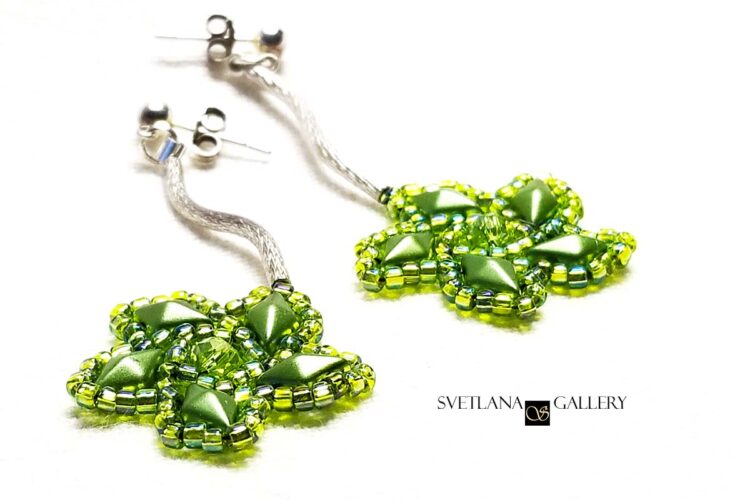
Weaving a herringbone spiral is even more fun when you start experimenting with different bead sizes and colors. One of my recent necklaces is a herringbone spiral made with three sizes and three colors of seed beads – The Spring Necklace.
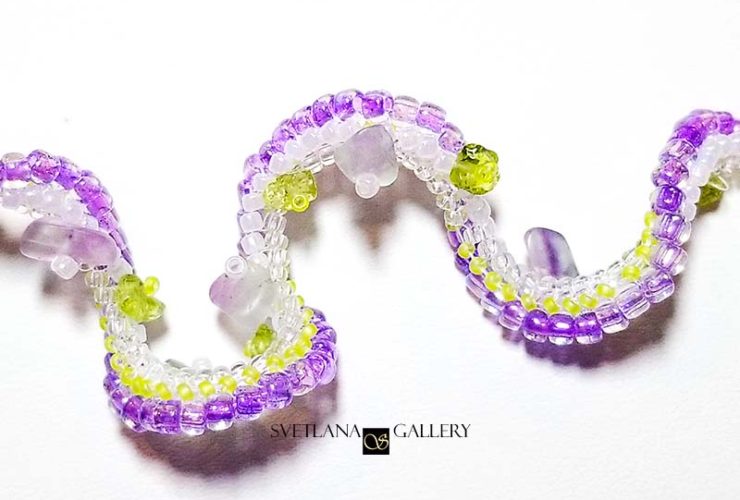
Try making a wider spiral using six or even eight beads, and it will form a lovely bracelet.
Happy beading!